
 Pinokio
Appearance
Form
Everything in Pinokio is JSON.
You can configure everything by simply opening the JSON files, updating, and saving:
But sometimes you may want to provide an easy-to-use UI for end users, so they can play with data easily without having to directly tweak the JSON files. Here's an example:
How to generate a form
Pinokio provides an easy way to automatically generate forms like this for any JSON file. You can achieve this using the built-in form builder engine. Here's how it works:
- Pick a JSON you want to generate a form for.
- Create a JSON schema for the JSON.
- Save the schema with a filename expected by Pinokio (Just add a
_prefix to the original filename) - Now when you open the original JSON file, it will display the form view instead of the raw JSON.
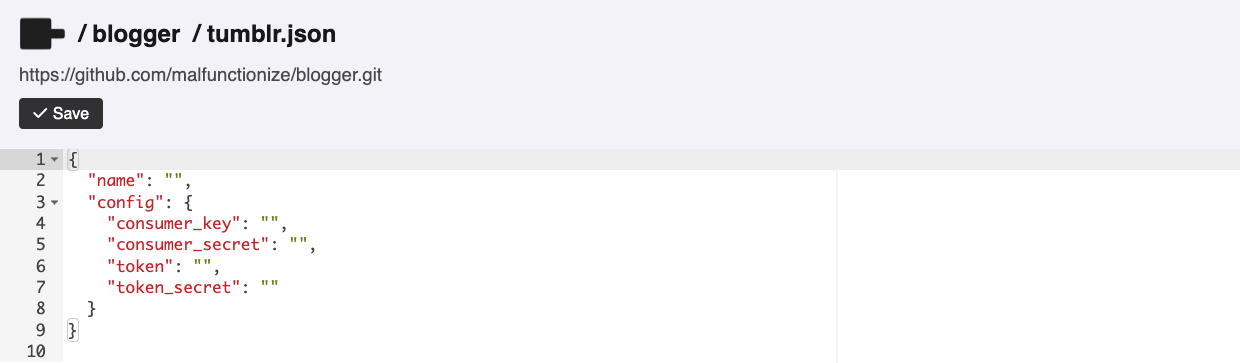
For example, we havea tumblr.json file that we want to turn into a form:
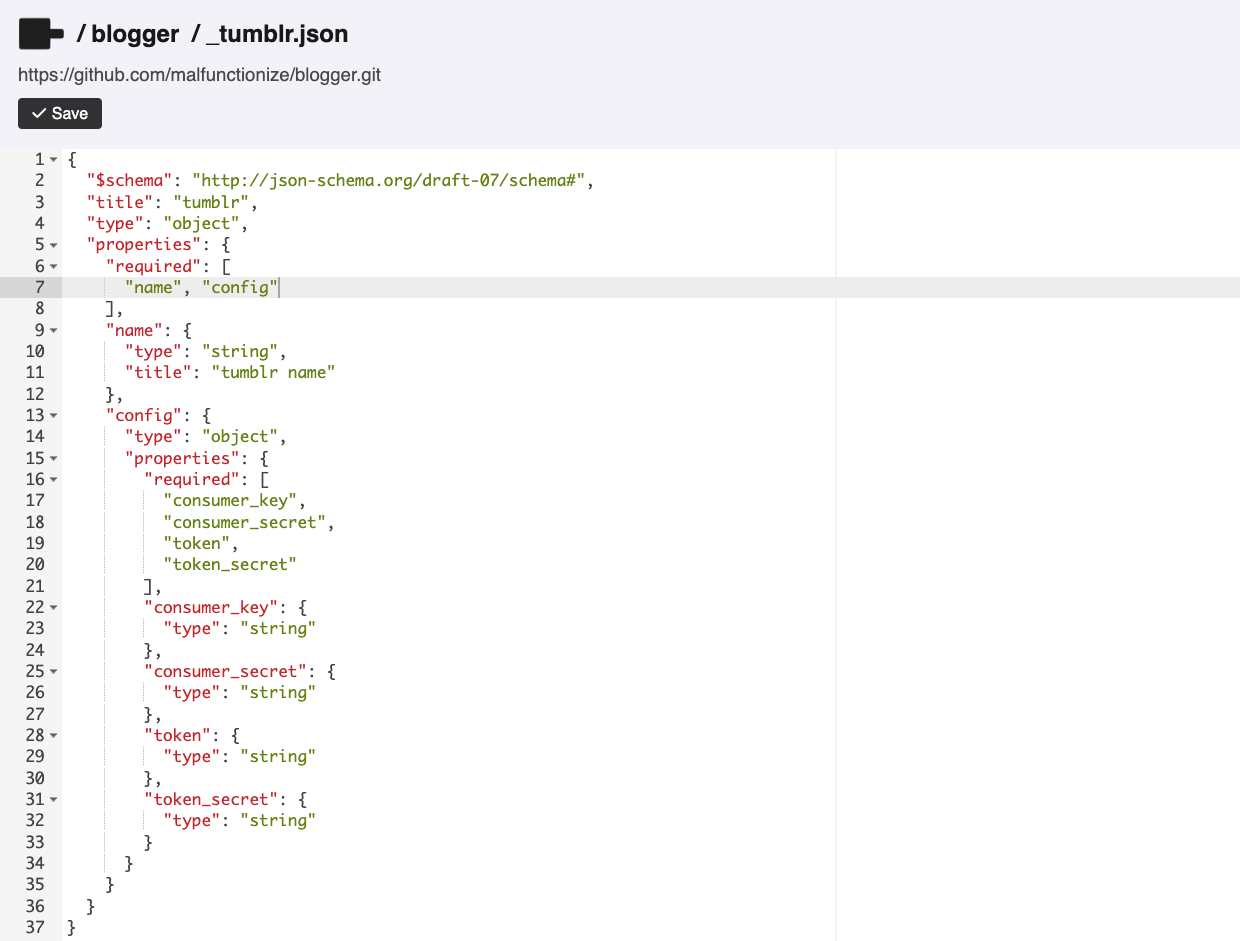
We can do this by simply creating a file named _tumblr.json (note the _ prefix) in the same folder and saving the JSON schema for the tumblr.json file:
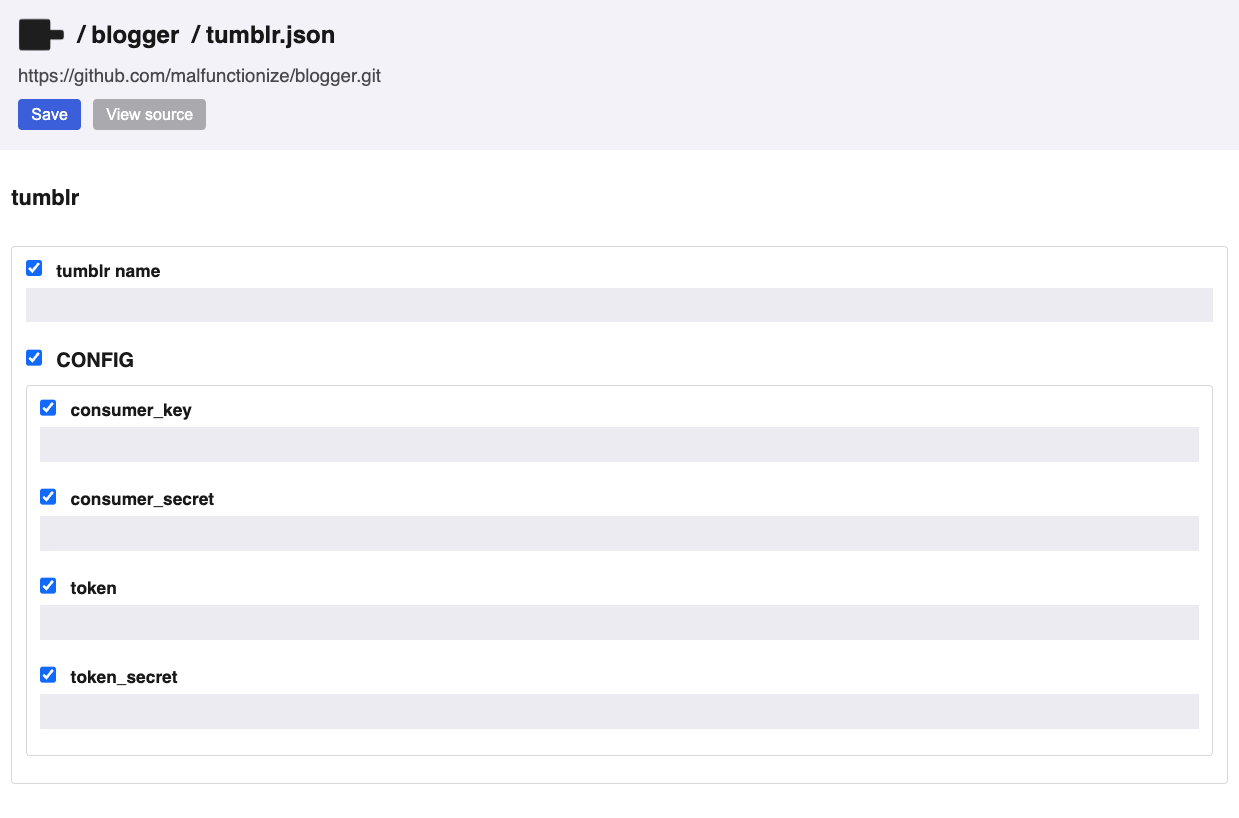
Now when we visit the tumblr.json file, instead of the raw JSON view, we get the form view:
You can click the View Source button to switch to the JSON view.
Getting a JSON schema
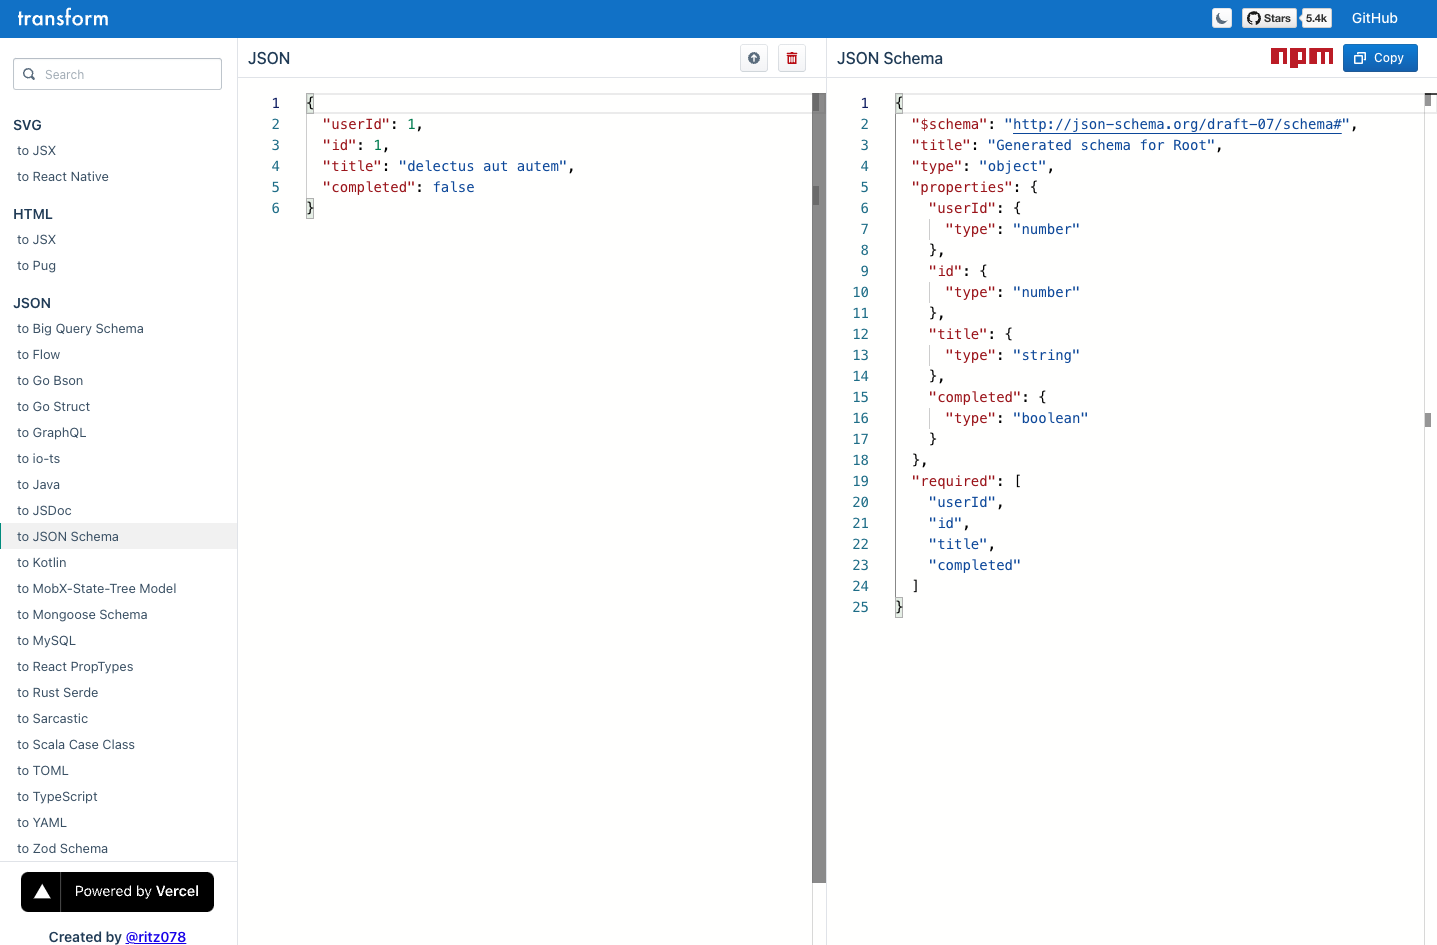
You can easily create a JSON schema from any JSON.
For example you can just use web apps like https://transform.tools/json-to-json-schema to enter any JSON and it will automatically generate a basic schema for you.
You can customize further on top of the basic schema if you want.
Examples
Case Study: Data Forms
Let's say we have an array stored at animals.json:
json
[
  "Aardvark",
  "Ant",
  "Antelope"
]
And we want people to be able to edit this list WITHOUT touching the raw JSON, but through a form.
Just create a JSON schema file for animals.json, named _animals.json, in the same folder:
json
{
  "$schema": "http://json-schema.org/draft-07/schema#",
  "title": "animals",
  "type": "array",
  "items": {
    "type": "string",
    "title": "animal"
  }
}
Now when you open the animals.json, it will display the form view by default.
Case Study: Config Forms
Another useful case is when you need to configure some engines, such as API clients.
Instead of making users manually edit JSON, you can auto-generate a form to set all the configuration fields.
Let's say we have built a tumblr API client script, and it requires the tumblr.json to be filled out before using:
json
{
  "name": "",
  "config": {
    "consumer_key": "",
    "consumer_secret": "",
    "token": "",
    "token_secret": ""
  }
}
We can create a JSON schema file for tumblr.json, which will look like this:
json
{
  "$schema": "http://json-schema.org/draft-07/schema#",
  "title": "tumblr",
  "type": "object",
  "properties": {
    "required": [
      "name", "config"
    ],
    "name": {
      "type": "string",
      "title": "tumblr name"
    },
    "config": {
      "type": "object",
      "properties": {
        "required": [
          "consumer_key",
          "consumer_secret",
          "token",
          "token_secret"
        ],
        "consumer_key": {
          "type": "string"
        },
        "consumer_secret": {
          "type": "string"
        },
        "token": {
          "type": "string"
        },
        "token_secret": {
          "type": "string"
        }
      }
    }
  }
}
And now when the users open tumblr.json, they will get the form view, which is much easier to work with.