
 Pinokio
Appearance
Shell Execution
You can automatically run ANY command in the Pinokio browser, using the shell API.
No more opening the terminal just to install or run some command. Just write a simple JSON script and run anything with a click of a button.
And of course, the script is immediately shareable with the world, which will let everyone else do the same thing without ever having to open a terminal, but instead with one click.
shell.run
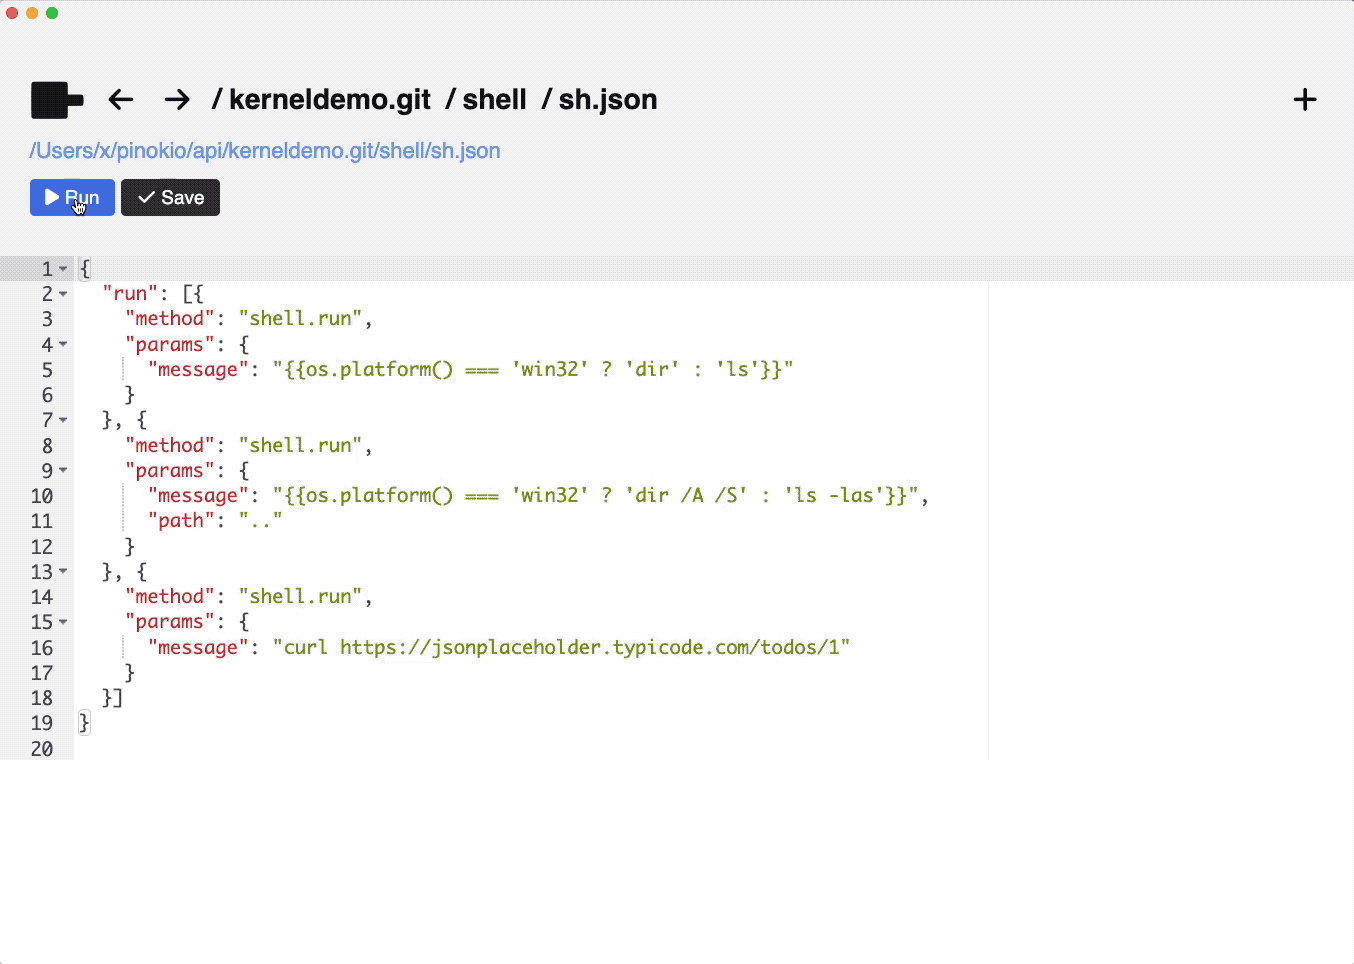
The shell.run method start a shell, runs one command, and stops the shell.
syntax
json
{
  "method": "shell.run",
  "params": {
    "message": <command line string>|<serialized command line object>,
    "path": <the file path from which to run the command>,
    "env": <environment variable key/value pairs>
  }
}- message: can either be a string or a serialized object (which is equivalent to the raw string, but easier to manipulate since it's more structured)
- string: for example
ls -las - yargs object: sometimes you may want to declare the command in a structured manner using JSON (This makes it easy to manipulate arguments). Pinokio supports a JSON syntax powered by yargs unparser
- Example:
{ _: ["ls"], l: true, a: true, s: true }is equivalent tols -l -a -s.
- Example:
- string: for example
- path: The execution path to start the shell from
- optional (the default is the current execution path)
- env: key-value pairs to inject as environment variables when starting the shell
- optional (uses the default environment variables if not specified)
message
Example
json
{
  "method": "shell.run",
  "params": {
    "message": "main -p ### Instruction\n\nName an animal.\n\n### Response\n\n -m ../models/stable-vicuna/13b_q4_0.bin -n 256"
  }
}
is equivalent to:
json
{
  "method": "shell.run",
  "params": {
    "message": {
      "_": ["main"],
      "p": "### Instruction\n\nName an animal.\n\n### Response\n\n",
      "m": "../models/stable-vicuna/13b_q4_0.bin",
      "n": 256
    }
  }
}
Sometimes the raw command text may be more convenient, but sometimes the object format may be more useful, especially when you want to manipulate the configuration dynamically.
path
Sometimes you may need to explicitly specify the path of the command. For example, let's say the folder structure looks like this:
json
~
  /pinokio
    /api
      /myapp
        /example
          index.json
        /models
          stable-vicuna/13b_q4_0.bin
        /bin
          main
and we are trying to run the ~/pinokio/api/myapp/example/index.json script, which looks like the following:
json
{
  "method": "shell.run",
  "params": {
    "message": "main -p '### Instruction\n\nName an animal.\n\n### Response\n\n' -m ../models/stable-vicuna/13b_q4_0.bin -n 256",
    "path": "../bin"
  }
}
Since the main command is located under the ~/pinokio/myapp/bin path, and the current execution path (index.json) is ~/pinokio/myapp/example, we need to speciry the path value of ../bin so the main command is executed from that path instead of the current path.
env
Often you may need to pass an environment variable when calling a process. You can use the env attribute:
json
{
  "run": [{
    "method": "shell.run",
    "params": {
      "env": {
        "COMMANDLINE_ARGS": "--no-half -f"
      }
    }
  }]
}
This is useful for running various projects that require API keys or secrets as environment variables, for example:
json
{
  "run": [{
    "method": "shell.run",
    "params": {
      "message": "npm start",
      "env": {
        "OPENAI_API_KEY": "sk-blablablablablablablablablablablablablablabla"
      }
    }
  }]
}
In the example above, the npm start command is executed with the OPENAI_API_KEY environment variable set.
examples
run a single command
json
{
  "run": [{
    "method": "shell.run",
    "params": {
      "message": "mkdir test"
    }
  }]
}
run multiple commands
json
{
  "run": [{
    "method": "shell.run",
    "params": {
      "message": "git clone https://github.com/ggerganov/llama.cpp llamacpp",
      "path": "../../bin"
    }
  }, {
    "method": "shell.run",
    "params": {
      "message": "mkdir build",
      "path": "../../bin/llamacpp"
    }
  }, {
    "method": "shell.run",
    "params": {
      "message": "cmake {{os.platform() === 'win32' ? '-G \"MinGW Makefiles\"' : ''}} {{os.platform() === 'darwin' && os.arch() === 'arm64' ? '-DLLAMA_METAL=ON' : ''}} ..",
      "path": "../../bin/llamacpp/build"
    }
  }]
}
shell.start
As seen above, the shell.run method is a minimal API that's useful for making a one-off execution call to a shell to run stuff.
To understand the rest of the shell API, it's important to understand the entire lifecycle of the shell.run method. Running a shell.run method involves:
- start a shell session
- send a message to the session
- stop the session when it encounters a prompt (since it implies the command has finished)
- returns from the request
This means, the shell will be destroyed after each shell.run call, and every time you call shell.run, pinokio starts a new shell session from scratch.
However, you may often want to keep a shell alive and keep sending messages to it. To achieve this, you can:
- start a shell with
shell.start - write to the shell with
shell.write(send key strokes) orshell.enter(send commands)
shell.run vs. shell.start
shell.startdoesn't run any command. It simply creates a shell session. To actually interact with the session, you need to follow upshell.startwithshell.enterorshell.write.- When calling
shell.runyou do not need to assign a unique ID to the shell, since it will be run once and disposed of immediately. But often when creating a persistent session withshell.start, you may want to use custom IDs (You don't need a custom ID if you will only create one concurrent shell session, only need it when there will be multiple concurrent sessions running).
syntax
json
{
  "method": "shell.start",
  "params": {
    "id": <shell id (optional)>,
    "path": <shell execution path>,
    "env": <environment variables>
  }
}- id: The id for the new shell session
- optional (automatically set to the script root URI if not specified)
- when to set the id: When you need to run multiple shell sessions in a single script, you need to use custom IDs. Otherwise Pinokio will attempt to create a redundant shell with the same ID, which will result in errors.
- path: The execution path to start the shell from
- optional (the default is the current execution path)
- env: key-value pairs to inject as environment variables when starting the shell
- optional (uses the default environment variables if not specified)
examples
Starting a basic shell
The simplest way to start a shell is to just call the "shell.start" method. This will create a new shell session with the current script URI as its ID.
json
{
  "run": [{
    "method": "shell.start"
  }]
}
Starting a named shell
Often you may want to run multiple shells. In this case, you need to assign IDs to each shell.
json
{
  "run": [{
    "method": "shell.start",
    "params": {
      "id": "{{cwd}}-session1"
    }
  }]
}
Starting a shell with custom environment
Often you may need to pass an environment variable when calling a process.
You can use the env attribute to start a shell with the custom env:
json
{
  "run": [{
    "method": "shell.start",
    "params": {
      "env": {
        "COMMANDLINE_ARGS": "--no-half -f"
      }
    }
  }]
}
This is useful for running various projects that require API keys or secrets as environment variables:
json
{
  "run": [{
    "method": "shell.start",
    "params": {
      "env": {
        "OPENAI_API_KEY": "sk-blablablablablablablablablablablablablablabla"
      }
    }
  }, {
    "method": "shell.enter",
    "params": {
      "message": "npm start"
    }
  }]
}
In the example above, the npm start command is executed with the OPENAI_API_KEY environment variable set.
shell.write
The shell.write method sends keystrokes to the shell.
You must call
shell.startfirst to start a shell before callingshell.write
syntax
json
{
  "method": "shell.write",
  "params": {
    "id": <shell id>,
    "message": <command line string>|<serialized command line object>,
    "on": <event handlers>
  }
}- id: The id of the shell session to write to (optional. the script root URI is the id if not specified)
- message: can either be a string or a serialized object (which is equivalent to the raw string, but easier to manipulate since it's more structured)
- string: for example
ls -las - yargs object: sometimes you may want to declare the command in a structured manner using JSON (This makes it easy to manipulate arguments). Pinokio supports a JSON syntax powered by yargs unparser
- Example:
{ _: ["ls"], l: true, a: true, s: true }is equivalent tols -l -a -s.
- Example:
- string: for example
- on: An event handler array, where each item in the array may have the following attributes:
- event: can be a regular expression string, or
null. - run: if you specify this attribute, the specified action will be executed every time the matched
eventis discovered in the shell. - return: if you specify this attribute, the current
shell.entermethod will return, resulting in the execution moving onto the next step of therunarray.
- event: can be a regular expression string, or
event handling
With shell.write and shell.enter, you can monitor the shell to detect:
- regular expression: when a certain text pattern shows up
- terminal prompt: when a terminal prompt appears
Return when there's a pattern match
Often you may want to run some command and wait until certain text pattern is printed on the terminal.
For example, your command may spin up a server, and you may want to wait for the server to print a confirm message such as "server running at http://localhost:3000":
json
{
  "run": [{
    "method": "shell.start"
  }, {
    "method": "shell.write",
    "params": {
      "message": "npm start\n",
      "on": [{
        "event": "/server running at http:\/\/localhost:[0-9]+/g",
        "return": true
      }]
    }
  }, {
    "method": "browser",
    "params": {
      "message": "open",
      "params": ["http://localhost:3000", "_blank"]
    }
  }]
}
The above script does the following:
- Starts a shell
- Runs the
npm startcommand to spin up a server - Waits for the terminal to print "server running at
http://localhost:3000" - When the even matches, it returns "true", and goes onto the next step, which is
- Opening the browser through the
"browser"API.
It is important that the shell.write method waits until the "server running at" message is printed. Otherwise it may immediately go to the next step and open the browser at http://localhost:3000, but the server may not be up yet, and the browser will not be able to load the page.
Return values from the shell
You can also explicitly return some value from the shell.write or shell.enter methods.
To achieve this, you simply need to set some value to the "return" attribute instead of simply setting "return": true (above example).
Here's an example:
json
{
  "run": [{
    "method": "shell.start"
  }, {
    "method": "shell.write",
    "params": {
      "message": "curl https://jsonplaceholder.typicode.com/users\n",
      "on": [{
        "event": "/.*(\\[.*\\]).*/gs",
        "return": "{{event.matches[0][1]}}"
      }]
    }
  }, {
    "method": "fs.write",
    "params": {
      "path": "users.json",
      "text": "{{input}}"
    }
  }]
}
Here's what's going on:
- Start a shell
- Enter the
curlcommand, which will start streaming the fetched JSON into the terminal. - The
shell.writemethod waits until the terminal content matches the regular expression pattern/.*(\\[.*\\]).*/gs(which indicates the beginning and the end of an array) - The capture group 1 of the first match (
event.matches[0][1]) is set as the return value - In the
fs.writestep, the returned value from the previous step is passed in as the variableinput, and this is written to the fileusers.json
Run methods on event
In addition to returning when a matching event is encountered (with the return attribute), you can also trigger a one-off method.
To achieve this, simply use the run attribute instead of the return attribute.
- The method under the
runattribute will be executed - You can dynamically construct the
runvalue using the matchedevent.matchesarray. - The
runmethod will execute every time when a new matching event occurs. - The
runmethod calls will only trigger the methods, without returning the parentshell.writemethod (To return, use thereturnhandler).
Here's an example:
json
{
  "run": [{
    "method": "shell.start"
  }, {
    "method": "shell.write",
    "params": {
      "message": "npm start\n",
      "on": [{
        "event": "/(server running at (http:\/\/localhost:[0-9]+))/g",
        "run": {
          "method": "notify",
          "params": {
            "html": "{{event.matches[0][1]}}",
            "href": "{{event.matches[0][2]}}"
          }
        }
      }]
    }
  }]
}
Custom handling of terminal prompts
By default, all of shell.run, shell.write, and shell.enter methods return when they encounter a new prompt, because it recognizes that a new terminal prompt means a command run has finished.
But for shell.write and shell.enter, you can customize this behavior, and instead of returning, you can make it do other things.
examples
writing a single line
Here is an example that executes "ls":
json
{
  "run": [{
    "method": "shell.start"
  }, {
    "method": "shell.write",
    "params": {
      "message": "ls\n"
    }
  }]
}
This will run the ls command, which displays all the files in the current directory.
Notice that it's not just ls but ls\n, including the new line character. This is because the shell.write literally sends keystrokes to the shell.
If the message did not nave the \n at the end, it would just print the ls on the screen and not run anything (if you want to automatically append the \n at the end of every message you can use the shell.enter method below)
shell.enter
shell.enter is like shell.write, but automatically appends \n at the end of every message, basically "entering" a line of command to the shell.
json
{
  "method": "shell.enter",
  "params": {
    "id": <shell id>,
    "message": <command line string>|<serialized command line object>,
    "on": <event handlers>
  }
}
The API is identical to the shell.write API, so just reference the shell.write section above.
shell.stop
The shell.stop method stops a shell.
You must call
shell.startfirst to start a shell before callingshell.stop
syntax
json
{
  "method": "shell.stop",
  "params": {
    "id": <shell id>
  }
}- id: The shell id to stop